

For ten years I watered a 20 by 12 foot vegetable plot with a 50 foot hose. Every evening I dragged it out, stood at the end with my thumb over the opening, and moved it from plant to plant. By the time I reached the pole beans my lower back had started in, and half of what came out of that hose landed on the clay between the rows instead of on a root.
In May 2025 I put in a MIXC drip kit and stopped doing that. It is 100 feet of quarter inch tubing with 16 adjustable nozzles on bendable rods and a bag of connectors, and it runs on nothing but the pressure out of my spigot. I installed it myself in one afternoon, about three hours, with a garden knife to cut the tubing and nothing else. I have not carried a hose to that plot since. Here is the whole job in the order I did it, including the part I got wrong.
One Afternoon of Fiddling, Then You Quit Dragging a Hose
The MIXC kit is 100 feet of quarter inch tubing, 16 adjustable nozzles on bendable rods, and the connectors to join it all. It runs off the pressure your spigot already gives you. Nothing to plug in, nothing to program.
Amazon Check Today's Price on Amazon →Five steps. None of them need a second person and none of them need a tool beyond a garden knife to cut the tubing. The only step I got wrong was the second one, and it cost me about ten minutes on day one.
Step 1: Lay the tubing out loose before you connect anything
I unrolled all 100 feet along the plot first with nothing attached, the spigot end at the back wall of the house and the loose end running out toward the beans. Then I walked it. That walk is the step people skip, and it is the one that decides whether you are still happy with the thing in August.
Two things to check while it is loose. The tubing sits on top of the soil rather than buried, so the run has to follow a path you can walk beside without stepping on it, and it has to leave you room to reach the far side of the tomatoes without wading through the squash. And count your nozzles before anything gets punched. The maker suggests no more than eight rods per 50 feet of tubing. I have 16 rods in 100 feet, which is that number exactly, and I split them six on the raised bed and ten in the plot.
Before I unrolled anything, I laid my old 50 foot hose down the path I thought I wanted and walked the plot with it. It reached the tomatoes and quit about six feet short of the pole beans, which told me two useful things: where the new line had to run, and that a single length hooked to the house would not cover this plot no matter how I aimed it. I had 100 feet of MIXC tubing sitting in the box, so I marked the turn at the peppers with a stick and ran the plan from there. Ten minutes in the driveway, and it kept me from laying tubing down a route that gave out halfway.
If your run is longer than mine, buy another 50 feet of tubing rather than crowding extra rods onto the first length. Eight per 50 is the figure they give and I would not push past it just to save a trip to the store.
One more thing I did on that first walk. I counted plants, not feet. Six tomato plants in the plot, peppers down one side, squash at the low corner, pole beans along the back fence. Knowing where the plants were before I punched a single hole meant I was not standing there afterward with tubing already run and a nozzle in the wrong place.
Step 2: Push every fitting in harder than feels right
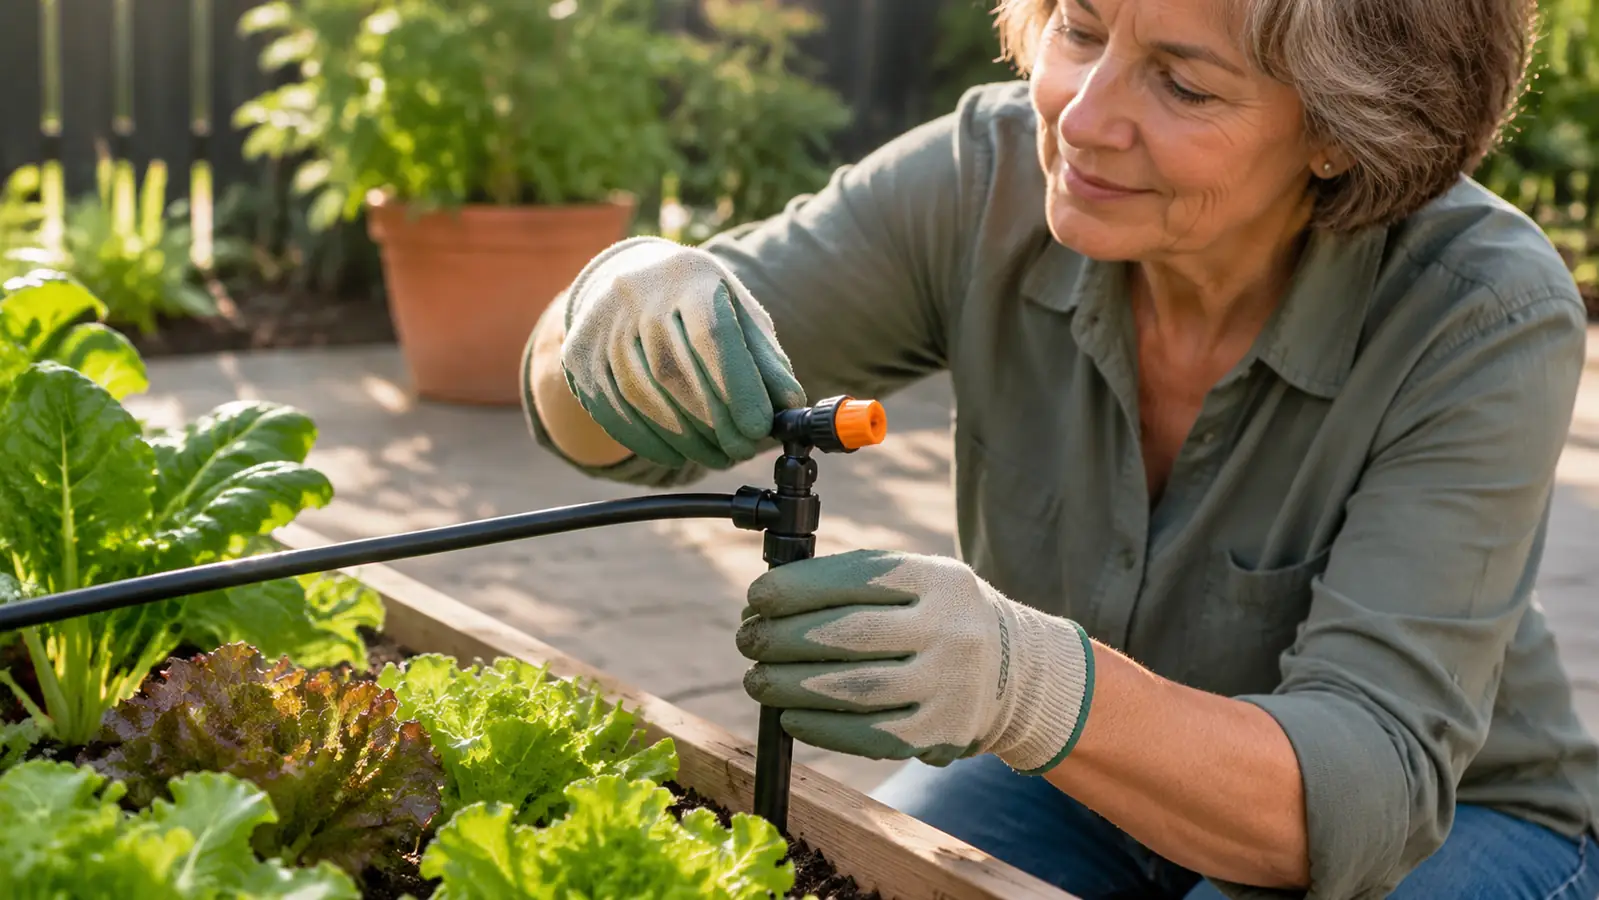
On day one, one connector dripped. Not a spray, a slow bead that ran down the tubing and left a wet spot on the clay. I pushed the tubing further into the connector, felt it seat, and it stopped. That has been my only leak in two seasons.
The fittings are push in and the tubing has to go past the first point of resistance. If you stop when it first feels snug, it weeps. I do them by feel now, then run the water for a minute and go along the whole line with a dry finger, checking each joint. It takes two minutes and it saves you finding a wet patch a week later and wondering which one it was.
The end that meets the house is the joint I fussed over longest. The connector that joins the tubing to the spigot came in the bag with the rest of them, and I put that one on hand tight and then turned the water on slow to watch it before I let it run full. A joint that goes on crooked will weep all summer. It is the one connection on the whole run that I check with my hand every spring before I trust the rest of it.
The kit is rated to 60 psi and it runs off ordinary household water pressure. Mine comes off the one outdoor spigot on the back wall beside the patio. I did not add a regulator. I did not add anything, and the nozzles have held up fine through two full seasons.
Step 3: Aim the nozzles at the soil, not at the leaves
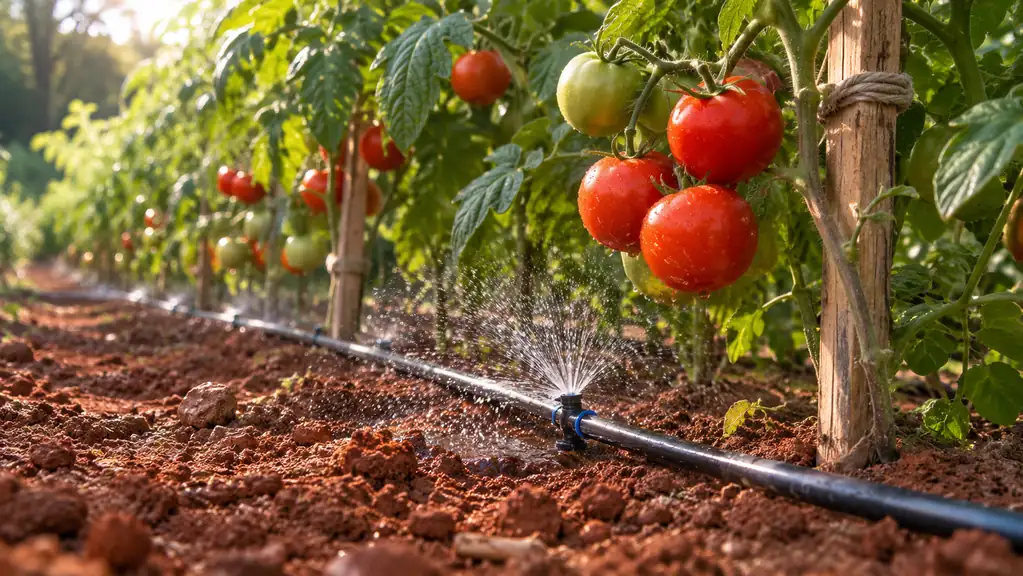
The rods bend, so each nozzle can stand up and point back down. I set mine low and pointed them at the ground around the stem. On the tomatoes that matters. Water sitting on tomato leaves in a humid North Carolina July is asking for trouble, and a nozzle pointed down at the clay keeps the foliage dry without any extra work from me.
Six nozzles went to the raised bed on the patio, running along the inside edge. That bed is 72 by 24 inches and it dries out faster than the plot does, so it earns its own line. The other ten went into the plot: two down the tomato row, one at the peppers, two at the squash, and the rest spaced along the pole beans.
Each nozzle turns 360 degrees and adjusts, so you are not stuck with whatever pattern it arrived in. I close the ones at the squash down to a slow drip because that ground holds water longer, and I open the ones at the beans a little more because they sit on the highest corner of the plot and it sheds.
The first week, the rod at the squash leaned over twice. I had set it close to the vine because that corner runs dry fastest, and a squash leaf the size of a dinner plate pushed it down overnight. I moved it back about four inches and it has stayed put since. If a rod will not hold its aim, the fix is almost always to move the rod rather than bend it harder.
Check them once a week for the first month. A rod that gets bumped by a foot or shoved by a vine will lean over and water the row path instead of the row. Straightening three of them takes about a minute and I do it on the same walk where I pick.
Twenty five minutes at the spigot in the morning and I do not touch a hose again all day.
Step 4: Run it long enough to soak, then shut it off by hand
In summer I turn the spigot on every morning for about 25 minutes and then I turn it off. That is the entire watering schedule. When it cools off I cut it back. When we are in a stretch of ninety degree days I leave it on a few minutes longer and I do not stand there counting them.
The MIXC kit has no timer, no battery, no app and no sensor, and I have not bought anything to change that. Turning a spigot handle is one motion on my way to the shed. I would rather look at the ground than trust a schedule I set in April and forgot about.
The first morning I ran it forty minutes, because forty minutes felt like a real watering. Water pooled in the low corner by the squash and ran off toward the path, so the plants at the top of that corner got less than the ones at the bottom of it. Twenty five minutes with the nozzles turned down a notch gets further into the clay than forty did with them wide open. I figured that out in the first week of June and I have run it that way ever since.
The test I use: an hour after you shut off, push a finger into the soil. If it is damp an inch down, you ran it long enough. If the surface is soaked and it is dry under that, you are putting water on faster than the ground can take it in. Close the nozzles down and run longer.
Rain is the one thing that breaks the routine. After a real soaking I skip a morning, sometimes two. That is not a system failing. It is just a person looking out the kitchen window.
Step 5: Drain it in November, lay it back out in April
Before the first frost, sometime in November, I disconnect the kit from the spigot and lift the whole run off the ground so it can drain. Then I coil it and hang it in the shed. The nozzles stay on the rods. I do not take anything apart.
Coiling it is the only part that wants any patience. I lay the run out straight first and let it sit while I pull the stakes, then loop it around my elbow the way you would coil a rope and tie it off with a length of twine. The twine lives in the pouch on the kneeler, which is where the plant labels are too, so it is already out there with me. The coil goes on the shelf in the shed beside the stakes. Nothing comes apart and nothing gets boxed.
In April it goes back down on the same path. It has come out of the coil by the second day both springs. Nothing has cracked and no connector has gone brittle.
Do not leave it out over the winter and do not leave it hooked to a spigot you have not drained. That is the only maintenance this thing asks for, and it takes about twenty minutes.
The first spring is the one where you learn the path. The second spring I had it laid back down and running before lunch, because I already knew where every nozzle went.
What Else Helps
The drip line does the watering. It does not do the feeding, and it took me a season to stop confusing the two. The tomatoes and peppers in the plot still get their Tomato-tone on the label schedule, and the bush beans in the bed get a light feeding of the same. Neither of those is a watering job. Water goes on at the spigot. Food goes on by hand.
Doreen two doors down waters her garden with a soaker hose and has for years. Hers sweats along its whole length and you cannot point it at anything. Mine puts water where I aim the nozzle. She is happy with hers and I am happy with mine, and we have agreed not to have that argument over the fence.
The thing I would tell anyone starting out: the raised bed on the patio dries faster than the clay plot, so if you are only going to run one line, run it there. In July a morning I skip shows in that bed before it shows anywhere else. It is also the bed I can reach from the patio without kneeling, which makes it the easiest place to notice a nozzle that has been knocked crooked.
And look at the ground, not the clock. The first week I had this kit I kept walking out to check it because a hose had never done the job without me standing over it. It does the job without you. That is the whole point of putting it in.
Two Seasons In, and It Is Still the Only Thing I Water With
100 feet of tubing, 16 adjustable nozzles, no timer. It comes apart in November, goes back down in April, and turns one spigot into a garden that waters itself while I am doing something else.
Amazon Check Today's Price on Amazon →