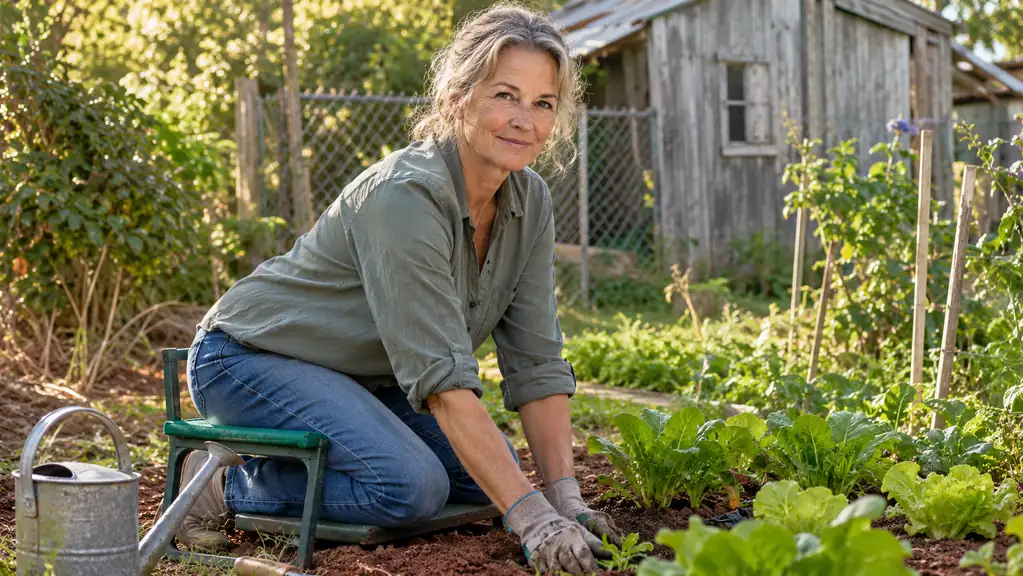
Clay is what makes weeding here a two-handed job. My plot is 20 by 12 feet of red Piedmont clay, worked every year since 2015, and it still sets up hard by the middle of June. Grab a weed by the top and you get the top. The root stays put and comes back in a little over a week. Every spring I gave two evenings to it on my knees, and every spring half of it came undone by the following Saturday.
What changed it was not a new method. It was one tool. In June 2025 I bought a Nisaku hori hori, the NJP650, and it is now the thing I reach for to dig, weed, transplant, cut twine and open a bag of raised bed mix. Before it I had a stamped-steel trowel, a dandelion fork, and an old kitchen knife I used for twine. The trowel's neck bent in this clay in 2024. All three are still in the bucket in the shed, and none of them has been picked up since.
A hori hori is not a trowel with a nicer handle. It is a Japanese digging knife: a 7.25 inch stainless steel blade with a serrated edge on one side and a straight edge on the other, inch markings stamped down the blade, a 5.25 inch wood handle, 10 ounces total. Mine came with a faux leather sheath that loops onto a belt. That is the spec sheet. The useful part is what those two edges let you do in ground that fights back.
One blade, two edges, and no more bent trowel necks
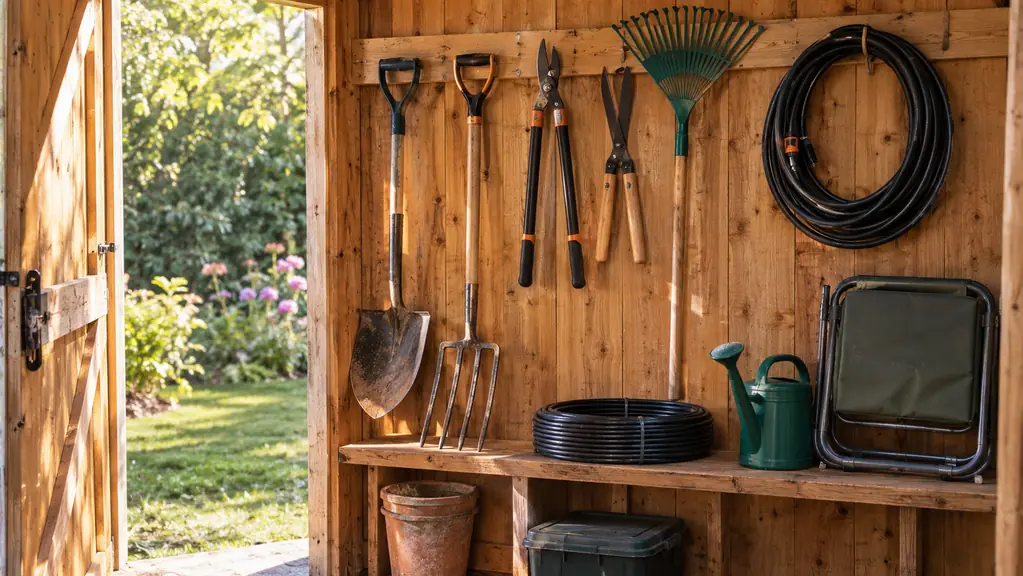
The Nisaku NJP650 is the tool I bought in June 2025 and have used in the same red clay every week since. Serrated edge for stubborn roots, straight edge for lifting, inch markings for depth. When it is not on my belt it hangs on the peg rack in the shed.
Amazon Check Today's Price on Amazon →Step 1: Put the sheath on your belt before you kneel
The mistake I made for years was carrying the tool out and setting it down. You set it down, you lean over to pull something, you stand up, and now it is four feet behind you and you are crawling back for it. My back does not care for that. The right knee is worse than the left, and both of them get stiff after twenty minutes of up and down.
So the sheath goes on the belt first, before I kneel. The knife rides at my hip and my hand finds the handle without me looking at it. It is ambidextrous, which matters in this house because I cut with my right hand and pull with my left, and my husband Roy is left-handed and can use the same tool without thinking about it.
The second piece of setup is that I do not bend if I can help it. Standing work at the raised bed on the patio, I stand. Low work in the plot, I take the TomCare kneeler out of the shed and flip it pad-up to kneel on, with the frame rails to push against when I want to get up. It folds flat and lives on the shed floor. But the kneeler does not do the cutting and neither do my knees. The knife does the cutting.
Step 2: Cut weeds below the crown instead of pulling them
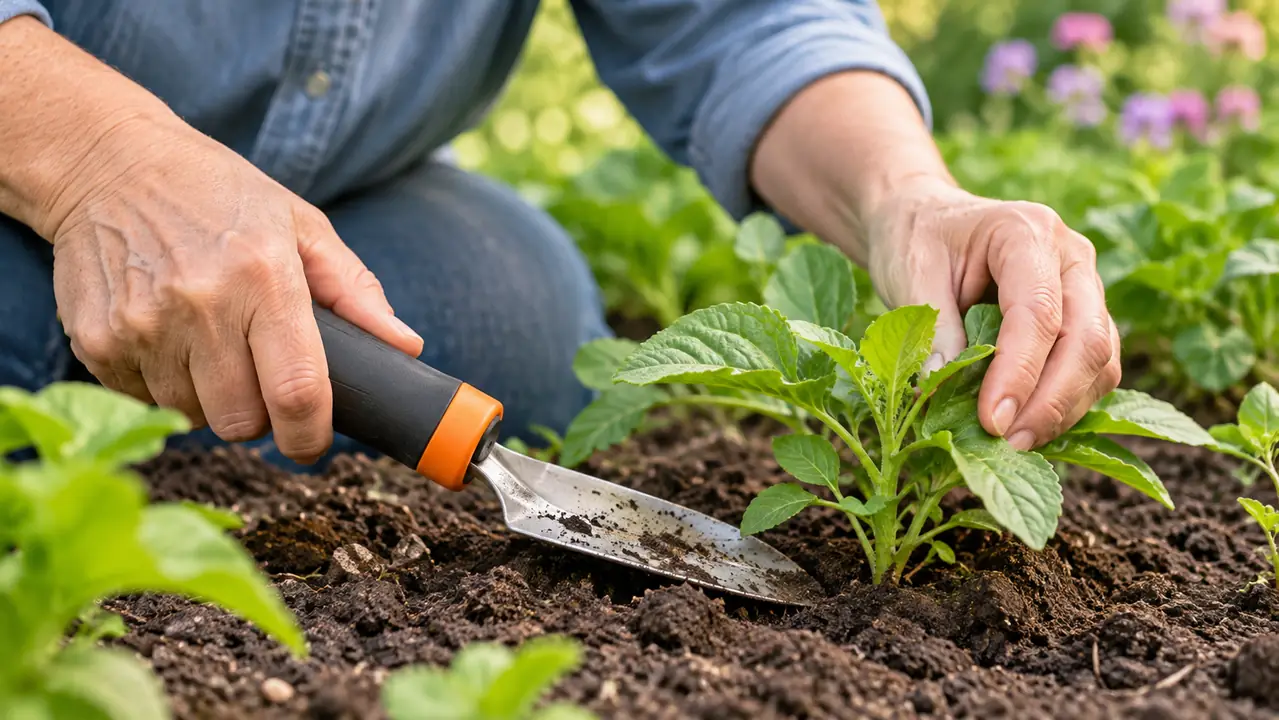
Here is what I do now. I set the blade into the soil a couple of inches away from the weed, angled down and toward it, and push. The straight edge slices the soil. Then I tip the handle back and the weed comes up with its crown and most of its root attached. If it does not come, I stop pulling. I lay the serrated edge under whatever is left and saw it free.
In clay this matters more than it does in good loam. Pulling a weed in clay either snaps the taproot or lifts a plate of soil the size of a dinner plate and takes a pepper plant with it. Cutting below the crown leaves the soil structure alone, and the weed dies because it has nothing left to grow back from. The serrated edge is the part that earns its keep on the deep-rooted ones, the dandelions and the plantain and the wiry stuff that creeps in from the fence line.
The first Saturday I used it, in the middle of June 2025, I did the whole strip along the bean row in a little under an hour. The same strip had taken me two evenings the spring before with the dandelion fork, and the fork left half of it standing. I remember the date because I had been putting the job off for a week and it was the last cool morning we got.
I keep a five gallon bucket beside me and drop the weeds in it, not on the ground. Weed tops left lying will re-root in damp clay, which I learned the slow way. The bucket goes to the yard waste bin and that is the end of it. When I finish a row I run the blade through the soil a few times to knock the clay loose and wipe it on my trouser leg. That is the whole maintenance routine on a working day.
The trowel's neck bent in this clay in 2024. The Nisaku has gone two full seasons in the same ground and the blade has not moved.
Step 3: Lift a seedling with the root ball whole
Transplanting is where a trowel and a hori hori stop being the same conversation. A trowel scoops. This digs a narrow channel and then levers, and the levering is the whole point.
Start an inch or two out from the stem, never at the stem. Put the blade in straight down, all the way to the depth you think the roots run, then lean the handle away from the plant. The soil lifts in one piece. If you started far enough out, that piece holds the whole root ball. If you started too close, you will feel the roots give, and a plant that loses its roots sits and sulks for two weeks before it decides whether to live.
I made every mistake there is to make at the start. The first lettuce I moved, I dug right against the stem and levered hard, and it came up with a root about the length of my thumb. That plant sat flat for a week before it decided anything. Now I go out farther than feels right and the blade goes in deeper than feels right, and what I lift has a lump of clay around the roots the size of a fist.
Slide the blade under the lifted clump to support it and carry it on the blade the few feet to the new hole. Lettuce and basil do not care to be handled. The less my fingers are in the roots, the faster they go back to growing. In the raised bed I move crowded leaf lettuce and basil this way every spring, and the ones I carried on the blade never wilted more than an afternoon.
Step 4: Use the inch markings and stop guessing at depth
The blade has inch markings stamped into it, and I use them more than I expected to. Set the tip beside the hole, look at where the soil line lands on the blade, and you know exactly how deep you are. No stick, no finger, no guessing, no leaning down to squint.
Tomatoes go deeper than the pot they came out of, because the stem roots along its length. A seedling out of a six-pack goes in at the same level it was already growing, no deeper. Lettuce and spinach want the crown just at the surface. When I set out the six Better Boy and Cherokee Purple plants in late April, I check the depth on the blade at every hole instead of eyeballing it, because eyeballing is how you end up with one plant sitting two inches low in a puddle.
Cherokee Purple runs tall and lanky and I set those deeper than the Better Boy every time, since the stem roots along whatever length gets buried. Two inches of stem under the soil line on those, checked on the blade. I have set them both ways in the same row and by July you can see which is which.
After the plant is in, the markings get used one more time. I lay the tip of the blade beside the stem and check that the soil comes back up to the same line it was at before. Then I firm it with the flat of my hand, not my boot. Clay compacts enough on its own without help.
Step 5: Water it in, then clean the blade and put it away
A new transplant needs the soil settled around the roots, and it needs that right away. My watering is the MIXC drip kit, quarter inch tubing and 16 adjustable nozzles, six on the raised bed and ten in the plot, run off the spigot on the back wall. I turn it on by hand for about 25 minutes each morning in summer and turn it off. There is no timer on it and I have never wanted one. When I set a transplant I hand-water that one spot with a can the same day so it does not have to wait for morning.
The rest of the job is the tool itself. Stainless steel will spot if you leave clay on it. I knock the soil off, wipe the blade down, and hang the knife in its sheath on the peg rack in the shed by the back fence. The whole thing weighs 10 ounces, sheath and all, so wearing it for two hours is not a burden.
Once a season I run a file along the straight edge. That is the entire upkeep. Two full seasons in the same red clay and the blade is still straight and the handle is still tight. The bent trowel is still in the bucket, and I look at it sometimes.
What Else Helps
A few things that make these two jobs easier, and not one of them is the knife. The bucket, first. Five gallons, carried with me, so I am not walking back and forth to a pile. The kneeler, second, for the low work in the plot, with the twine and the plant labels living in its pouches so they are already out there when I need them.
Third, timing. Weed after rain, not before. In clay the difference between the Tuesday after a shower and the Thursday in full sun is the difference between cutting and chopping, and your wrists will tell you which one you did. I watch the forecast the way some people watch the ballgame.
I do most of my weeding after supper in June, when the light lasts and the ground has cooled off. Roy sits on the patio with the radio going and I work the rows with the bucket beside me. It is the only way I have found to make the job something I will actually do instead of something I keep planning to do.
Fourth, cover the bare soil. A couple of inches of anything on top cuts the weeding by half. I did not believe that until I did it on one half of the plot and left the other half bare, and then I believed it. And Doreen, two doors down, waters with a soaker hose and swears by it. I have never owned one, so I have no opinion worth printing on the subject.
If your trowel has already bent, this is the replacement
The Nisaku NJP650 has been on my belt since June 2025. Two seasons of red clay, one pass with a file, no bent neck and no loose handle. For digging, weeding and lifting seedlings, it is the only tool I have needed.
Amazon Check Today's Price on Amazon →